Whip Up Easy No-Churn Chocolate Oreo Ice Cream At Home
Imagine a dessert that’s rich, creamy, bursting with chocolate flavor, and studded with irresistible chunks of America’s favorite cookie. Now imagine making it without an ice cream maker, with minimal effort, and in just a few simple steps. Welcome to the wonderful world of homemade chocolate oreo ice cream – a treat so delightful, it’s bound to become a staple in your freezer.
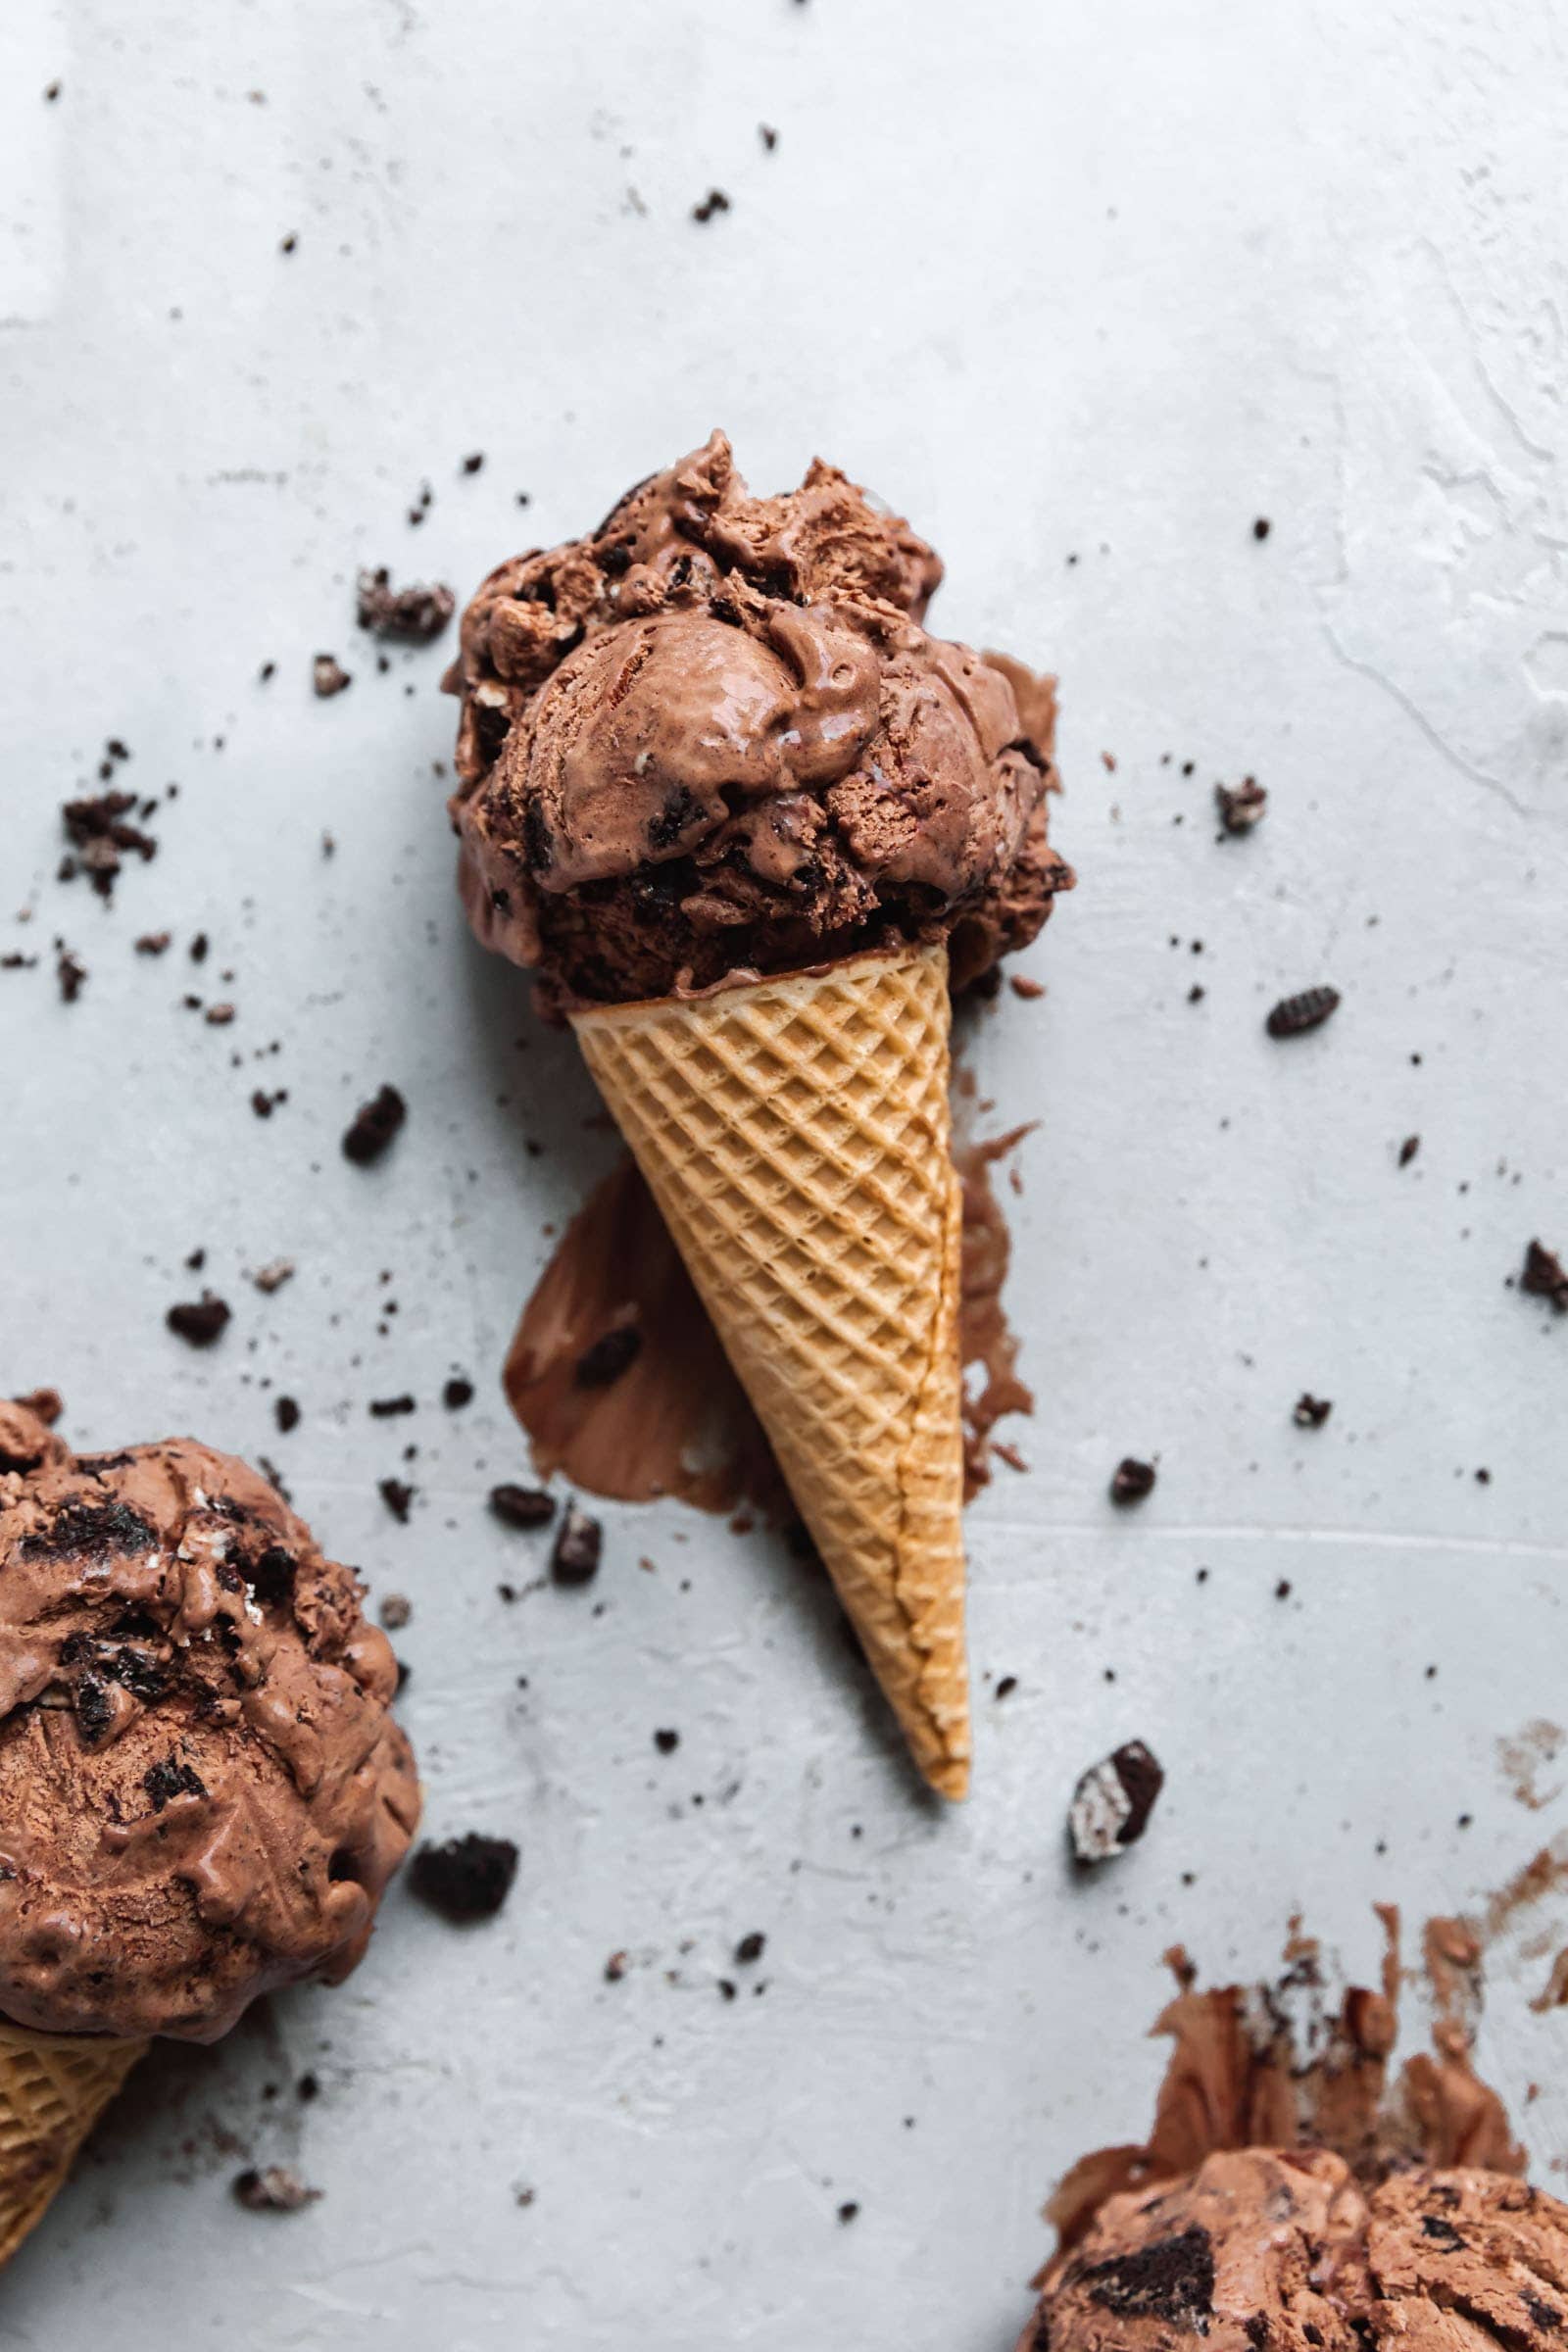
This isn't just any ice cream; it's a chocoholic's dream come true, where the velvety smoothness of a rich chocolate base meets the satisfying crunch of Oreo cookies. Whether you're battling a summer heatwave, seeking a cozy winter movie night indulgence, or simply craving something sweet, this easy no-churn recipe delivers every single time. It's a proven hit with families, often leading to friendly competition over the last scoop!
Why No-Churn Chocolate Oreo Ice Cream is a Game Changer
The allure of homemade ice cream has always been strong, but the need for specialized equipment like an ice cream maker often deterred aspiring dessert chefs. This is precisely where the "no-churn" method revolutionizes the game, making delicious, scoopable chocolate oreo ice cream accessible to everyone. Forget the fuss and the expensive gadgets; all you truly need are a few basic ingredients, a bowl, a mixer (or strong arm), and your freezer.
The magic of no-churn lies in the clever combination of ingredients that, when whipped together and frozen, replicate the creamy texture usually achieved through continuous churning. Traditionally, this often involves sweetened condensed milk and heavy cream, which, when aerated and frozen, prevent large ice crystals from forming, resulting in a delightfully smooth consistency. This simplicity means you can whip up a batch on a whim, satisfying those sudden cravings without the lengthy preparation or clean-up associated with conventional methods.
Beyond its ease, the no-churn method offers incredible versatility. You're not just making ice cream; you're crafting an experience. It’s perfect for last-minute gatherings, a fun activity with kids, or simply a treat to pamper yourself after a long day. The joy of creating something so professional-tasting with such minimal effort is incredibly rewarding, making this Chocoholic's Dream: Creamy Chocolate Oreo Ice Cream Delight a true game-changer in your kitchen.
Crafting Your Dream Chocolate Oreo Ice Cream: The Essential Ingredients & Variations
At its heart, any great chocolate oreo ice cream starts with a superb chocolate base. The references highlight the importance of a rich, deep chocolate flavor that perfectly complements the cookies. High-quality cocoa powder is paramount here, as it carries the bulk of the chocolate essence. Don't skimp on this ingredient; a good Dutch-processed cocoa will provide that intense, luxurious chocolatey depth.
The Two Paths to No-Churn Creaminess:
- Traditional No-Churn: The most common approach relies on the magical combination of heavy whipping cream and sweetened condensed milk. The heavy cream is whipped to stiff peaks, incorporating air, while the condensed milk provides sweetness and helps maintain a smooth, non-icy texture due to its high sugar content and viscosity. Melted chocolate or cocoa powder is then folded in, creating that irresistible chocolate base.
- Healthier, Dairy-Free & Vegan No-Churn: For those seeking a more nutritious or allergen-friendly option, a fascinating alternative exists using ingredients like full-fat canned coconut milk, sweet potatoes, dates, and cashews. This method not only bypasses dairy and refined sugar but also adds a surprising boost of nutrition and protein. The sweet potato, dates, and cashews work in harmony with the coconut milk to deliver incredible creaminess without any coconut taste. If this intriguing healthy twist piques your interest, you absolutely must explore our dedicated article: Healthy Dairy-Free Chocolate Oreo Ice Cream with Sweet Potato.
Once your creamy base is ready, it's time for the star attraction: the Oreos! Whether you prefer traditional Oreos, dark chocolate Oreos for an even deeper cocoa hit, or even other chocolate sandwich cookies, the choice is yours. The key is to break them into "bite-sized chunks" – not too fine that they disappear, but small enough to be easily scooped and enjoyed in every spoonful. Don't be shy; load it up to the absolute limit!
Simple Steps to Homemade Bliss: The No-Churn Method Explained
The beauty of no-churn chocolate oreo ice cream lies in its straightforward process. While the exact steps might vary slightly depending on whether you choose the traditional or the healthier base, the underlying principle of minimal effort for maximum deliciousness remains constant.
For the Traditional No-Churn Base (Heavy Cream & Condensed Milk):
- Whip the Cream: In a large, chilled bowl, whip cold heavy cream until it forms stiff peaks. This is crucial for incorporating air and achieving that light, airy texture.
- Fold in Condensed Milk & Chocolate: Gently fold in the sweetened condensed milk until just combined. Then, introduce your chocolate element – whether it's melted dark chocolate or a rich cocoa powder mixture – ensuring it's evenly incorporated without deflating the cream.
- Add the Oreos: Carefully fold in your crushed Oreo chunks. Be generous!
- Freeze: Transfer the mixture to a freezer-safe container, cover tightly, and freeze for at least 6-8 hours, or preferably overnight, until firm.
For the Healthier No-Churn Base (Coconut Milk, Sweet Potato, Dates, Cashews):
This method employs a slightly different technique to achieve its exceptional creaminess and nutritional profile.
- Prepare & Blend: Soften dates (Medjool are ideal) and cashews (unless using cashew butter). Combine these with full-fat canned coconut milk, high-quality cocoa powder, and the secret ingredient – cooked sweet potato (canned organic or freshly baked works). Blend everything until absolutely smooth and creamy. A high-speed blender is your best friend here.
- Initial Freeze (Cubed): Pour the mixture into ice cube trays and freeze until solid. This initial freezing step is a clever trick to ensure ultimate creaminess.
- Second Blend: Once frozen, pop the cubes into your blender or food processor. Blend again, gradually adding a little more coconut milk if needed, until it transforms into a soft-serve consistency. This double-blending action mimics an ice cream maker by re-introducing air and breaking down ice crystals, resulting in an incredibly smooth, almost ethereal texture.
- Final Freeze: Transfer this re-blended mixture to a freezer-safe container and freeze for a few more hours until it reaches your desired scoopable firmness.
Pro Tip for Optimal Texture: For any no-churn recipe, ensure your ingredients (especially the cream if using it) are very cold before you start. Also, after freezing, allow your ice cream to sit at room temperature for 5-10 minutes before scooping. This brief softening period makes it incredibly easy to dish out perfect, creamy scoops every time.
Elevating Your Chocolate Oreo Ice Cream Experience
Making your own chocolate oreo ice cream is a triumph in itself, but serving it can be an art form. While it’s utterly delicious on its own, a few simple additions can transform it into an even more decadent dessert.
- Drizzles and Toppings: A warm chocolate fudge sauce, a dollop of fresh whipped cream, a sprinkle of mini chocolate chips, or even more crushed Oreos can take your serving to the next level. A drizzle of caramel or a scattering of toasted nuts could also add intriguing layers of flavor and texture.
- Creative Combinations: Serve a scoop alongside a warm brownie or a slice of apple pie for a delightful hot-and-cold contrast. It also makes a fantastic base for milkshakes – just blend with a splash of milk for an instant treat!
- Storage Savvy: Store your homemade ice cream in an airtight container in the coldest part of your freezer to prevent ice crystal formation and keep it fresh for up to two weeks. A layer of plastic wrap pressed directly onto the surface before sealing the lid can also help prevent freezer burn.
This versatile dessert isn't confined to summer. While it's undoubtedly the perfect cool-down treat for warmer months, its rich, comforting chocolate and cookie flavors make it equally ideal for a cozy winter movie night or a comforting pick-me-up any time of year. Its adaptability for various dietary needs also means everyone can enjoy this luscious frozen delight.
Conclusion
From its luscious chocolate base to the satisfying crunch of Oreo cookies, homemade no-churn chocolate oreo ice cream is more than just a dessert; it's an experience. It proves that incredible flavor and texture don't require fancy equipment or culinary expertise. With a few simple ingredients and a little patience, you can create a truly indulgent treat that will impress family and friends alike. So, gather your ingredients, choose your preferred no-churn path, and get ready to enjoy the ultimate frozen delight that's easy to make and impossible to resist. Happy scooping!
